Overview
Teaching: 20 min
Exercises: 10 minQuestions
How to find your way around RStudio?
How to start and organize a new project from RStudio
How to put the new project under version control and integrate with GitHub?
Objectives
To gain familiarity with the various panes in the RStudio IDE
To gain familiarity with the buttons, short cuts and options in the RStudio IDE
To understand variables and how to assign to them
To be able to manage your workspace in an interactive R session
To be able to create self-contained projects in RStudio
To be able to use git from within RStudio
Motivation
Science is a multi-step process: once you’ve designed an experiment and collected data, the real fun begins (but remember R.A.Fisher)! Here we will explore R as a tool to organize raw data, perform exploratory analyses, and learn how to plot results graphically. But to start, we will review how to interact with R and use the RStudio.
Before Starting This Lesson
Please ensure you have the latest version of R and RStudio installed on your machine. This is important, as some packages may not install correctly (or at all) if R is not up to date.
Download and install the latest version of R here
Download and install RStudio here
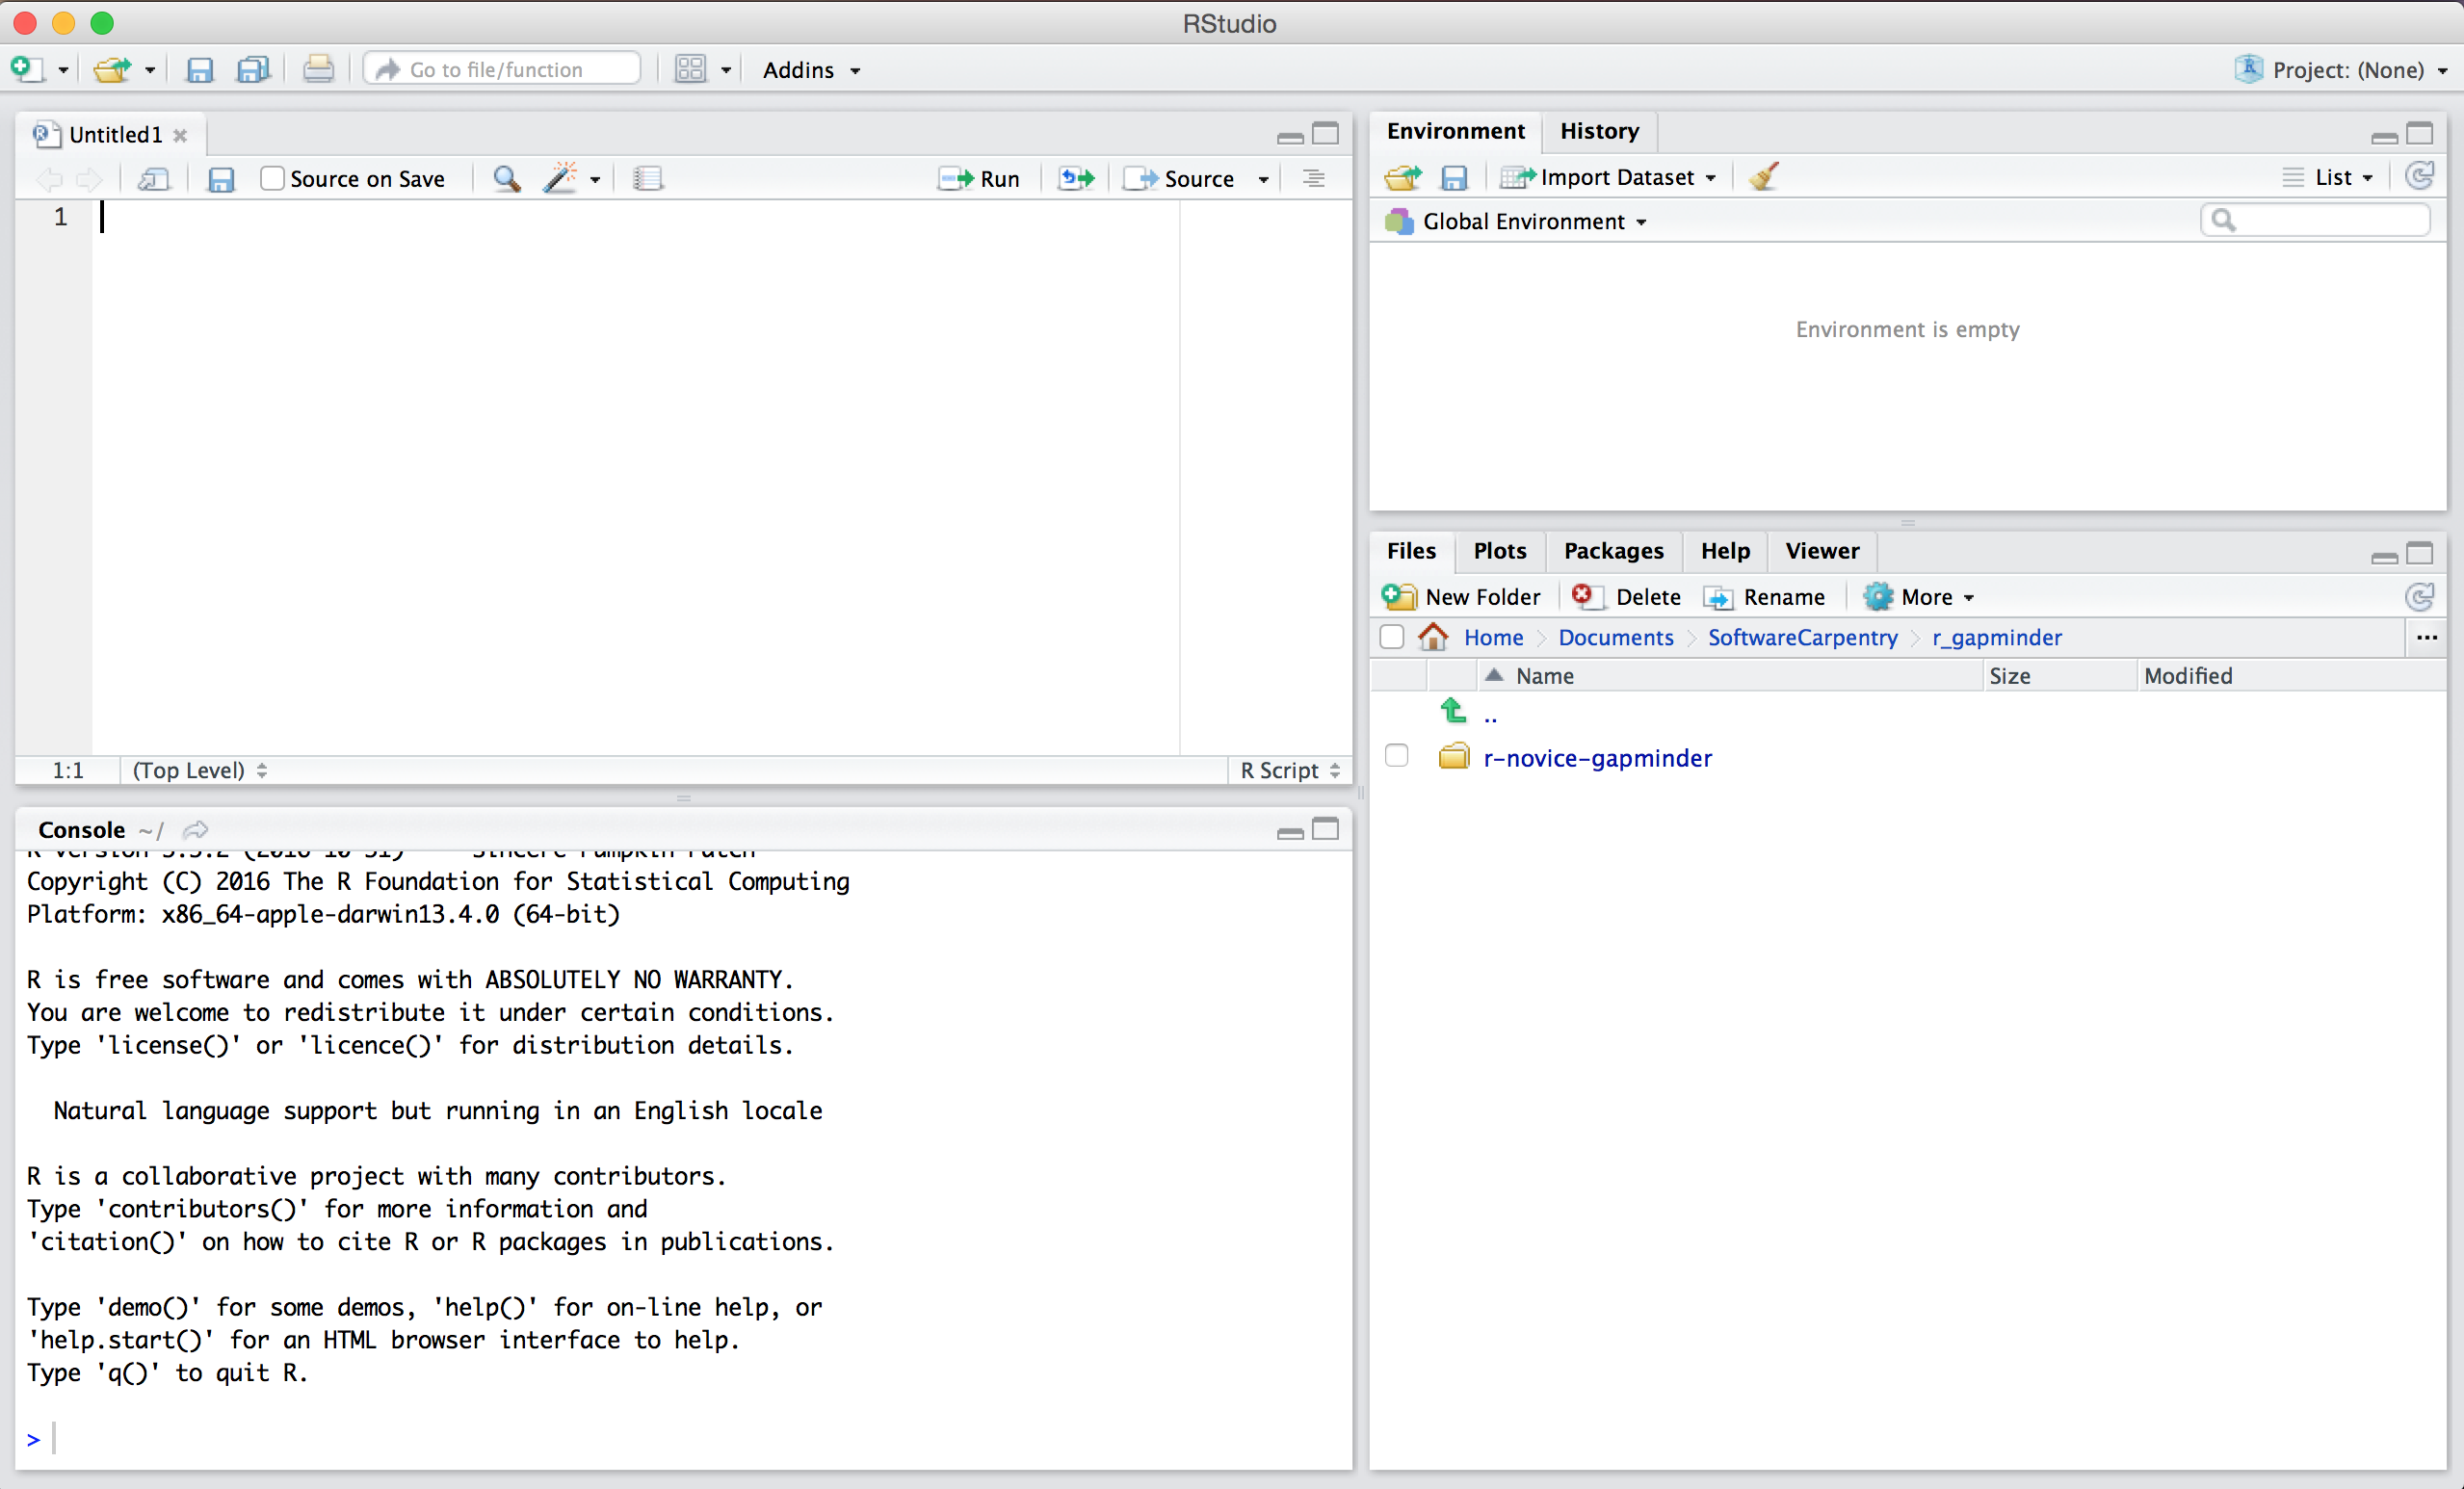
Introduction to RStudio
Throughout this lesson, we’ll be using RStudio: a free, open source R integrated development environment. It provides a built in editor, works on all platforms (including on servers) and supports many features useful for working in R: syntax highlighting, quick access to R’s help system, plots visible alongside code, and integration with version control.
Basic layout
When you first open RStudio, you will be greeted by three panels:
- The interactive R console (entire left)
- Environment/History (tabbed in upper right)
- Files/Plots/Packages/Help/Viewer (tabbed in lower right)
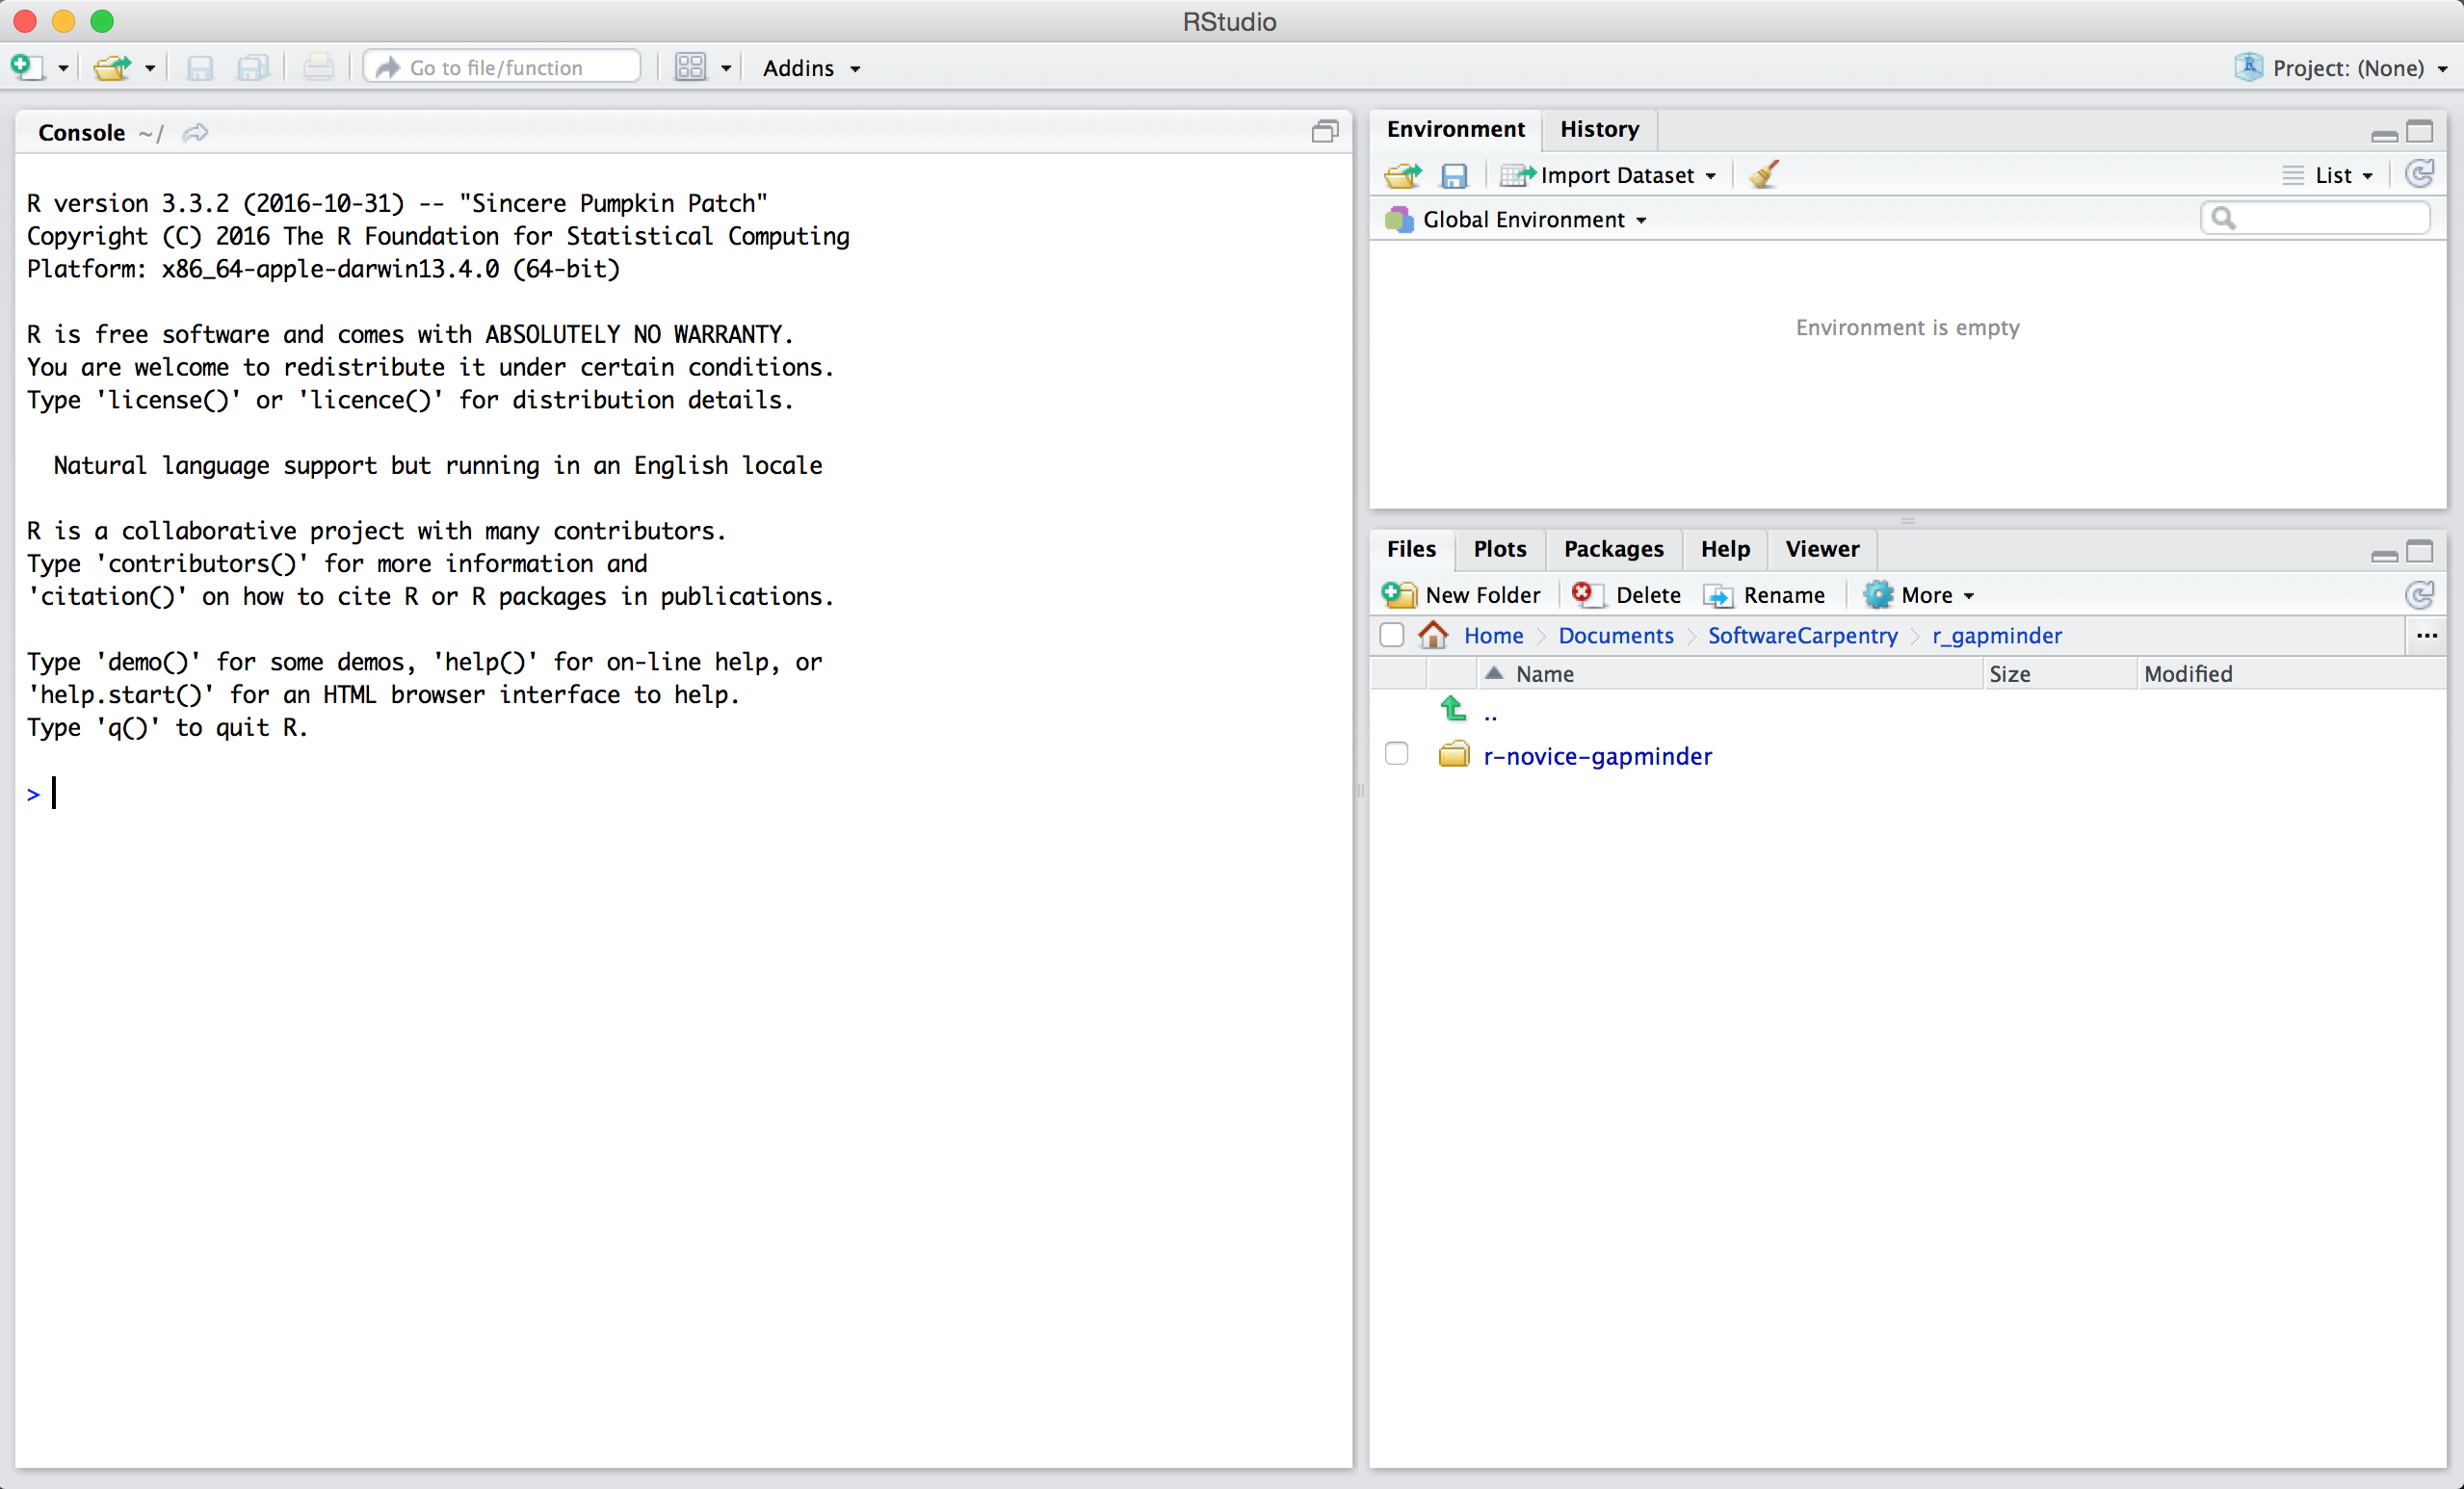
Once you open files, such as R scripts, an editor panel will also open in the top left.
Creating a new project
One of the most powerful and useful aspects of RStudio is its project management functionality. We’ll be using this today to create a self-contained, reproducible project.
Challenge: Creating a self-contained project
We’re going to create a new project in RStudio:
- Click the “File” menu button, then “New Project”.
- Click “New Directory”.
- Click “Empty Project”.
- Type in the name of the directory to store your project, e.g. “EEOB546_R_lesson”.
- Make sure that the checkbox for “Create a git repository” is selected.
- Click the “Create Project” button.
Now when we start R in this project directory, or open this project with RStudio, all of our work on this project will be entirely self-contained in this directory.
Best practices for project organization
There are several general principles to adhere to that will make project management easier:
Treat data as read only
This is probably the most important goal of setting up a project. Data is typically time consuming and/or expensive to collect. Working with them interactively (e.g., in Excel) where they can be modified means you are never sure of where the data came from, or how it has been modified since collection. It is therefore a good idea to treat your data as “read-only”.
Data Cleaning
In many cases your data will be “dirty”: it will need significant preprocessing to get into a format R (or any other programming language) will find useful. This task is sometimes called “data munging”. I find it useful to store these scripts in a separate folder, and create a second “read-only” data folder to hold the “cleaned” data sets.
Treat generated output as disposable
Anything generated by your scripts should be treated as disposable: you should be able to regenerate it from your scripts.
Tip: Good Enough Practices for Scientific Computing
Good Enough Practices for Scientific Computing gives the following recommendations for project organization:
- Put each project in its own directory, which is named after the project.
- Put text documents associated with the project in the
docdirectory.- Put raw data and metadata in the
datadirectory, and files generated during cleanup and analysis in aresultsdirectory.- Put source for the project’s scripts and programs in the
srcdirectory, and programs brought in from elsewhere or compiled locally in thebindirectory.- Name all files to reflect their content or function.
Separate function definition and application
When your project is new and shiny, the script file usually contains many lines of directly executed code. As it matures, reusable chunks get pulled into their own functions. It’s a good idea to separate these into separate folders; one to store useful functions that you’ll reuse across analyses and projects, and one to store the analysis scripts.
Tip: avoiding duplication
You may find yourself using data or analysis scripts across several projects. Typically you want to avoid duplication to save space and avoid having to make updates to code in multiple places.
In this case I find it useful to make “symbolic links”, which are essentially shortcuts to files somewhere else on a filesystem. On Linux and OS X you can use the
ln -scommand, and on Windows you can either create a shortcut or use themklinkcommand from the windows terminal.
Challenge 1
Create a new readme file in the project directory you created and and some information about the project.
Version Control
We also set up our project to integrate with git, putting it under version control. RStudio has a nicer interface to git than shell, but is somewhat in what it can do, so you will find yourself occasionally needing to use the shell. Let’s go through and make an initial commit of our template files.
The workspace/history pane has a tab for “Git”. We can stage each file by checking the box: you will see a green “A” next to stage files and folders, and yellow question marks next to files or folders git doesn’t know about yet. RStudio also nicely shows you the difference between files from different commits.
Tip: versioning disposable output
Generally you do not want to version disposable output (or read-only data). You should modify the
.gitignorefile to tell git to ignore these files and directories.
Challenge 2
- Create a directory within your project called
graphs.- Modify the
.gitignorefile to containgraphs/so that this disposable output isn’t versioned.Add the newly created folders to version control using the git interface.
Solution to Challenge 2
This can be done with the command line:
$ mkdir data
$ echo "data/" >> .gitignore
Now we want to push the contents of this commit to GitHub, so it is also backed-up off site and available to collaborators.
Challenge 3
- In GitHub, create a New repository, called here
BCB546-R-Exercise. Don’t initialize it with a README file because we’ll be importing an existing repository…- Make sure you have a proper public key in your GitHub settings
- In RStudio, again click Tools -> Shell … . Enter:
$ git remote add origin git@github.com/[path to your directory]
$ git config remote.origin.url git@github.com:[path to your directory]
$ git pull -u origin master
$ git push -u origin master
- Change README.md file to indicate the changes you made
- Commit and push it from the Git tab on the Environment/history panel of Rstudio.
We will lern more about RStudio in the next lesson.
Key Points
Use RStudio to create and manage projects with consistent layout.
Treat raw data as read-only.
Treat generated output as disposable.
Separate function definition and application.
Use version control.